Top 10 Tips on How to Install Solar Flood Lights Outside

Time:2026-10-07 Author:Aria
0%

Solar flood lights can improve visibility around driveways, patios, gates, and garden paths without adding monthly electricity use. Yet installation is not simply about fixing a lamp to a wall. The panel needs usable sunlight, the sensor needs a clear view, and the beam must reach the intended ground area.

The International Energy Agency reported that solar power remained the fastest-growing electricity source in 2023. The U.S. Department of Energy also advises placing photovoltaic panels away from shade, because even partial obstruction can reduce energy production. These findings matter when learning how to install solar flood lights outside. A bright light at noon may become weak after a nearby tree grows.

Lighting researcher Dr. Michael Siminovitch offers a useful practical principle: “Put light where people need it, not where installation is easiest.” That idea shapes this guide. Measure the target zone at night. Check the panel’s direction during daylight. Keep the sensor away from moving branches, reflective windows, and nearby lamps. Small details matter.

My own planning would not be perfect. A location that looks sunny can lose evening output during winter. Some products also exaggerate brightness claims. The U.S. Department of Energy’s Energy Saver guidance supports checking operating conditions, efficiency, and maintenance needs before choosing equipment. The following tips focus on realistic placement, secure mounting, weather exposure, battery care, and safer illumination. Expect adjustment. Outdoor light changes with seasons, dirt, shadows, and weather.
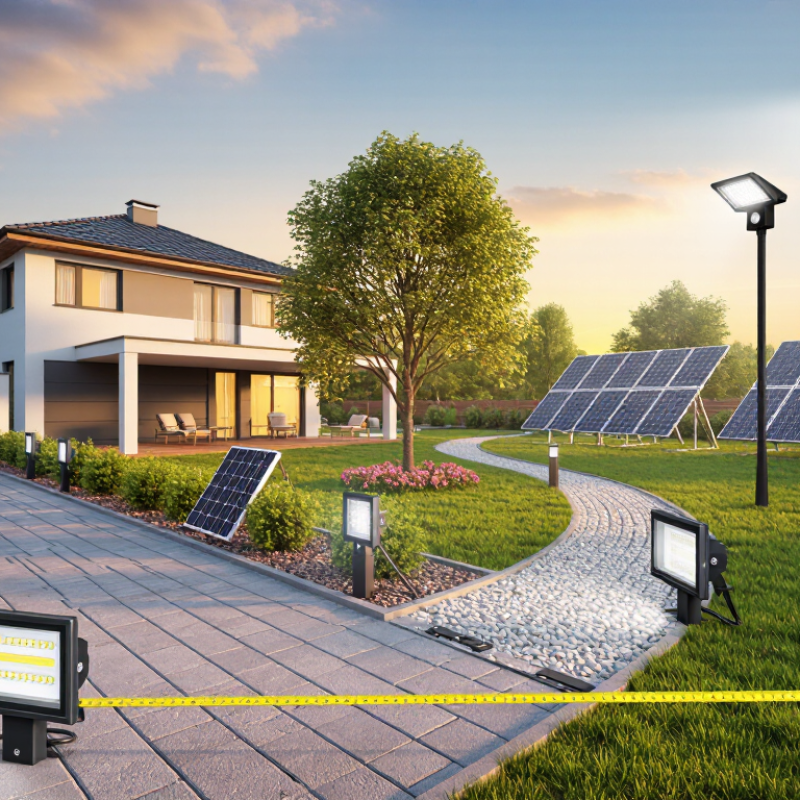
Top 10 Tips on How to Install Solar Flood Lights Outside

Assess Coverage First: Plan 1,000–2,000 Lumens per Floodlight

Before installing solar flood lights, measure the area they must cover. A small side path may need one light, while a broad driveway may require two or more. As a practical starting point, plan for 1,000–2,000 lumens per floodlight.

Lumens describe brightness, not distance. A 1,000-lumen light can work well near a doorway or narrow walkway. A 2,000-lumen unit is often better for a wide yard, driveway, or dark corner. Mounting height changes the result. Higher placement spreads light farther but may reduce brightness at ground level.

Stand where the fixture will hang and mark the darkest sections. Aim the beam across the space, not directly into nearby windows. Leave some overlap between beams to reduce sharp shadows.

Check the area after sunset, because daytime testing can be misleading. Solar panels also need clear sunlight for reliable nighttime performance.

I once planned coverage from a product diagram alone. The yard still had a dim strip near the fence. That mistake showed me that real shadows matter more than perfect measurements. Trees, walls, and seasonal changes can block sunlight or alter the beam. Test the angle temporarily before tightening the screws. A little adjustment may prevent a large blind spot.

Choose IP65-Rated Fixtures for Reliable Outdoor Weather Protection

Top 10 Tips on How to Install Solar Flood Lights Outside

Choose IP65-rated fixtures for reliable outdoor weather protection. The rating matters more than attractive packaging. Under IEC 60529, “6” means dust-tight protection, while “5” means protection against water jets. IP65 is not waterproof for flooding or submersion. Avoid installing the fixture where rainwater collects.

Place the light beneath a roof edge, but keep its solar panel open to the sky. The International Energy Agency’s PVPS Trends 2024 report recorded about 447 GW of new solar capacity worldwide in 2023. More outdoor solar equipment also means more exposure to harsh weather. Select a wall or post with stable support.

Tighten cable glands carefully. Leave no visible gap around the housing.

I once installed a light under a tree and blamed the battery for poor performance. The real problem was afternoon shade. Check sunlight across several hours, not just at installation. Keep the panel clean, and inspect the rubber seal after storms. IP65 protects the enclosure, not careless mounting.

A downward-facing light reduces glare and helps prevent water from sitting around joints. For coastal locations, rinse salt deposits periodically. I would still choose a higher-rated enclosure in flood-prone areas, because IP65 has limits.

Source: IEC 60529:2013; IEA PVPS, Trends in Photovoltaic Applications 2024.

Set Panel Angles Near Your Local Latitude for Better Solar Harvesting

Top 10 Tips on How to Install Solar Flood Lights Outside

Set the solar panel angle close to your local latitude for better solar harvesting. This position usually captures sunlight effectively across the year. For example, a location near 35 degrees latitude may need a panel tilted about 35 degrees from horizontal. Face the panel toward the equator, where sunlight is strongest. In northern regions, aim it south. In southern regions, aim it north. Avoid fences, roof edges, and tree branches that create afternoon shadows.

Tip: Check the panel at noon.

Seasonal adjustment can improve performance. Raise the angle slightly in winter when the sun travels lower across the sky. Lower it during summer when sunlight arrives from above. A fixed angle remains practical, but it will not be perfect in every season. I once installed a panel beneath a wide balcony, and the morning output looked acceptable. By late afternoon, the shadow reduced charging noticeably. That mistake was easy to miss.

Tip: Watch shadows for one full day.

Mount the light firmly on a clean, solid surface. Keep the panel free from dust, leaves, and bird deposits. Wipe it gently with a damp cloth when needed. Test the motion sensor after installation, especially near walkways or driveways. Adjust the detection direction to avoid constant activation from passing branches. Leave enough cable slack for future angle changes. Small adjustments matter.

Mount Lights 8–12 Feet High and Aim Beams at a 90°–120° Spread

When installing solar flood lights outside, mount them 8–12 feet above the ground. This height gives broad coverage without making the light difficult to adjust. Use a sturdy wall, post, or roof edge that receives direct sunlight for most of the day. Keep panels clear of branches, gutters, and nearby walls. Even a small shadow can reduce charging performance.

Tip: Aim the beams across a 90°–120° spread. A narrow angle may create bright spots and dark gaps. A wider spread can illuminate pathways, driveways, and exterior corners more evenly. Begin with the light facing slightly downward, then test it after sunset. Walk through the area and check whether faces, steps, gates, and obstacles remain visible. Avoid aiming directly toward windows, neighboring properties, or passing traffic.

Tip: Adjust one angle at a time. My first installation pointed too high, and much of the brightness disappeared into the yard’s upper darkness. I also underestimated how tree shadows changed during the afternoon. A temporary clamp or loose fitting can help you test positions before tightening everything. Secure the fixture firmly, but do not overtighten plastic parts. Clean the solar panel occasionally, especially after dusty weather, and reassess the spread when seasons change. Perfect coverage is difficult. Small corrections often matter more than stronger brightness.

Top 10 Tips on How to Install Solar Flood Lights Outside - Mount Lights 8–12 Feet High and Aim Beams at a 90°–120° Spread

No. Installation Tip Recommended Setting Practical Measurement or Check Purpose
1 Choose a location with direct sunlight Place the solar panel where it receives unobstructed daylight for most of the day. Aim for approximately 6–8 hours of direct sunlight when site conditions allow. More charging time generally improves nighttime operating performance.
2 Mount the light 8–12 feet high Install the fixture on a stable exterior wall, post, fence structure, or eave. Recommended mounting height: 8–12 ft (2.4–3.7 m). This height provides useful coverage while keeping the fixture accessible for maintenance.
3 Select a beam spread suited to the area Use a broad beam for pathways, driveways, patios, and building fronts. Target a beam spread of approximately 90°–120° for broad outdoor coverage. A wider spread covers more area, although peak brightness may be lower at the edges.
4 Aim the beam downward Tilt the lamp so the main beam illuminates the ground and nearby vertical surfaces. Avoid aiming directly toward windows, neighboring properties, or drivers’ eye level. Downward aiming reduces glare, light trespass, and wasted illumination above the target area.
5 Keep the solar panel clear of shade Check for shadows cast by roofs, trees, walls, railings, and nearby structures. Inspect the panel position at different times of day, especially around midday and late afternoon. Even partial shading can reduce the electrical output of photovoltaic cells.
6 Use a suitable motion-sensor position Point the sensor across the expected path of movement rather than directly toward approaching people. Typical outdoor motion-sensor coverage is about 90°–180°, depending on the product design. Crossing the sensor’s detection field generally produces a stronger trigger than walking straight toward it.
7 Leave clearance around the fixture Do not cover the panel, sensor, vents, or light head with decorative materials or dense foliage. Keep the panel and sensor faces unobstructed and allow the light head to move through its full adjustment range. Clearance supports charging, sensing, heat dissipation, and accurate beam alignment.
8 Use weather-resistant mounting hardware Choose corrosion-resistant screws and anchors appropriate for the mounting surface. For masonry, use masonry anchors; for wood, fasten into solid framing where possible. Correct hardware reduces loosening, water exposure, and movement caused by wind or vibration.
9 Test the light after installation Cover the solar panel or test the unit after dark, then walk through the intended detection zone. Check activation distance, illumination direction, sensor response, and unwanted glare. Testing confirms that the actual nighttime coverage matches the planned installation area.
10 Clean and inspect the system regularly Remove dust, leaves, bird deposits, and other debris from the solar panel and light housing. Inspect every few months and after severe weather; tighten hardware if movement is visible. Clean surfaces and secure mounting help maintain charging efficiency and reliable operation.
Measurements are general installation guidance; always follow the light’s safety instructions and local electrical or building requirements.

Test Motion Sensors Within Their Typical 20–40 Foot Detection Range

Test the motion sensor inside its typical 20–40-foot detection range. Use a tape measure, then walk across the intended path slowly. A straight approach may trigger late because passive infrared sensors detect movement across their field better than toward the lens.

Mount the solar flood light about six to eight feet above ground, if the structure allows. Aim the sensor slightly downward, not toward a busy road or reflective wall. The U.S. Department of Energy reports that LED lighting can use at least 75% less energy and last up to 25 times longer than incandescent lighting. Efficient fixtures still waste power when sensors activate unnecessarily.

Test it at dusk and again after dark. Check a person, a pet-sized movement, and a passing vehicle separately. Adjust sensitivity and delay settings in small steps. A practical mistake is testing only once. Weather, clothing, and body angle can change detection results. The U.S. Energy Information Administration reports that outdoor lighting contributes meaningfully to residential electricity use, so repeated false triggers deserve attention. Keep the panel clear of branches and dust, because weak charging may shorten nighttime operation. The setup may look correct at noon and fail before midnight.

FAQS

What does an IP65 rating protect against?

The first “6” means dust-tight protection. The second “5” covers water jets. It is not suitable for flooding or submersion.

Where should an outdoor solar light be mounted?

Place it on a stable wall, post, or roof edge. Keep the fixture sheltered, but leave the panel open to the sky.

How can I choose a good solar panel angle?

Set the panel near your local latitude. Face it toward the equator. A location near 35 degrees may use a similar tilt.

Should the panel angle change by season?

A small winter adjustment can help. Raise the angle when sunlight sits lower. Fixed angles are easier, but not always ideal.

How can I find hidden shade problems?

Watch the panel across one full day. Morning sunlight can look fine, while afternoon shadows quietly reduce charging.

What mounting height and beam spread work well?

Mount the light about 8–12 feet high. Aim the beam across a 90°–120° spread for broader coverage.

How should I test the light direction?

Start with a slightly downward angle. Test after sunset. Walk near steps, gates, and paths. Adjust one angle at a time.

How can I maintain reliable performance?

Wipe dust, leaves, and bird deposits from the panel. Inspect seals after storms. Rinse salt deposits near coastal areas.

What installation mistake should I avoid?

Do not overtighten plastic parts or leave housing gaps. I once blamed the battery for poor output. Shade caused the real problem.

Conclusion

Learning how to install solar flood lights outside starts with careful planning. First, assess the area you want to illuminate and estimate about 1,000–2,000 lumens per floodlight for dependable coverage. Select fixtures with an IP65 rating or higher to help protect against dust and outdoor water exposure. Position each solar panel at an angle close to your local latitude, adjusting it toward the strongest daily sunlight to improve energy collection.

For effective lighting, mount the fixtures approximately 8–12 feet above the ground and aim the beams across a 90°–120° spread. This height can provide broad coverage while reducing glare and accidental obstruction. After installation, test the motion sensors from several directions and distances, keeping in mind that many sensors detect movement within roughly 20–40 feet. Make small adjustments to the panel, light direction, and sensor angle until the system responds reliably and illuminates the intended area.

Aria

Aria

Aria is a dedicated marketing professional with a deep passion for innovative strategies and a keen understanding of our company's product offerings. With a wealth of experience in the industry, Aria excels at crafting engaging content that highlights the unique features and benefits of our......